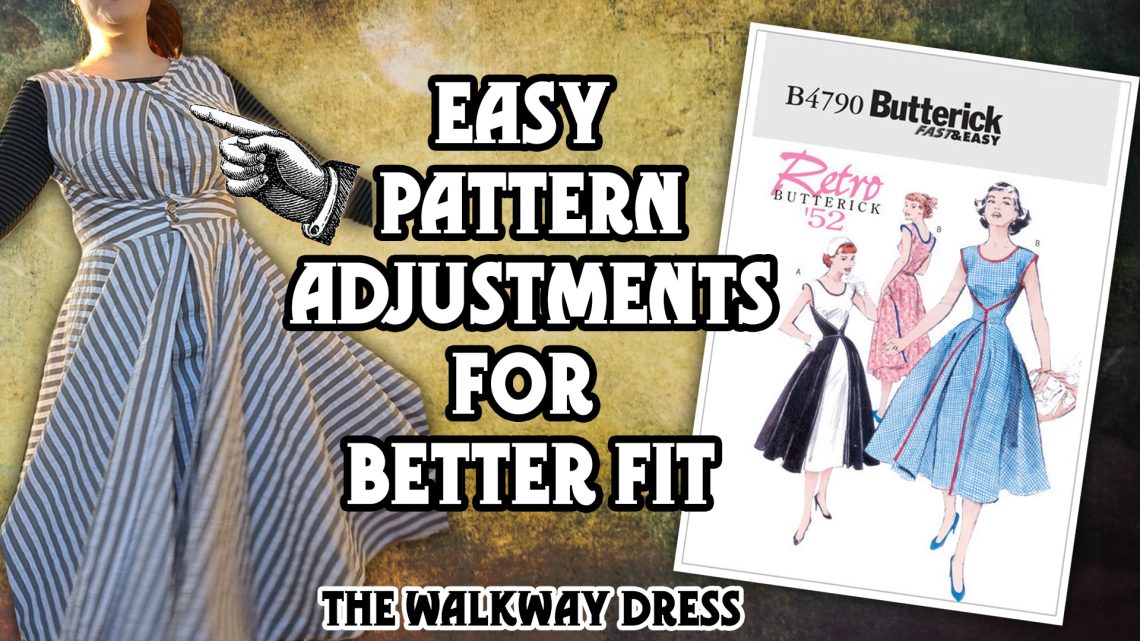
Make the 1950s Walkaway Dress actually fit
Ever since the reprint of Buttericks famous 1952 Walkaway dress came out as B4790, retro loving sewists have been crazy about the easy looking concept of a symmetrical wrap dress. But as I recently learned, the new pattern is not only not an exact reprint of the vintage original, it’s also known for being notoriously ill fitted so pattern adjustments are necessary to fit a curvy figure.
When making my own walkaway dress I accidentally avoided the ill-fit by some size adjustments and was asked on TikTok and Instagram, how I did it. So I’ll try to explain which easy pattern changes I made for a better fit.
Pattern changes for better fit
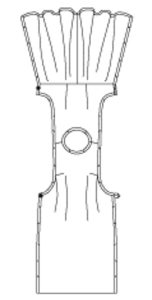
Little backstory: I bought the pattern for my mum because she came across the line art on Pinterest, which looks easy enough as a concept, that she wanted to try it without pattern. But I noticed the darts in the front and back panels and thought that it must be better fitting (and giving more of a retro vibe) with a proper pattern so I decided to just buy it with my next order and gift it to her. When it arrived, I thought, why not try it myself… and here my problem started: My mum’s smaller then me so I bought the smaller size range 8-14.
I usually use size 14 in my patterns, too but when I looked at the sizing chart, I discovered that I would actually need a 16 or even 18 for my bust measurements. That was after the pattern arrived…
I’m not really knowledgeable in how to resize patterns so I just improvised. (For bit more proper resizing, you might want to visit Edelweiss Pattern’s blog).
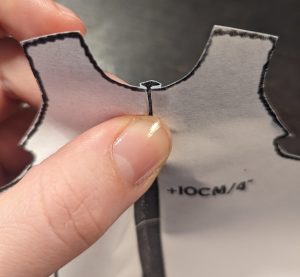
The front and back bodice are both cut on the fold. So, I added about 10cm (4”) down the middle on both pieces and made the side tabs a bit longer, too. (The latter is not really necessary but can help to make room for the girls.)
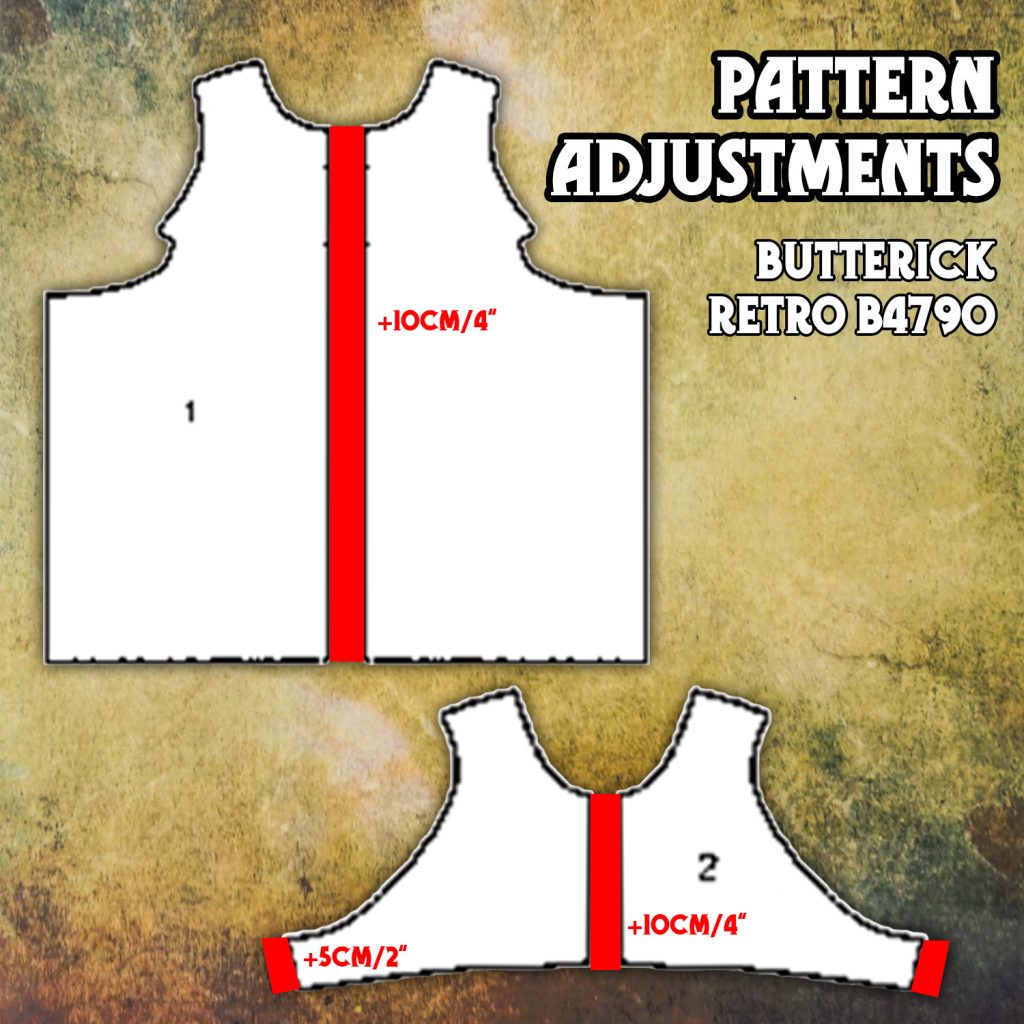
When doing this I reset the waist darts by aligning them with the new center front/center back. But I don’t think this makes much of a difference, so it might be skipped.
Unfortunately, the simple split and spread method resulted in the neckline being too wide and the shoulders dropping from my shoulders. (Wide shoulders on patterns are a problem I’m pretty much used to because mine are quite narrow to I didn’t think much of it.)
My solution for the neckline problem was simply to make a box pleat in the fron piece (1) by bringing the old center front lines back together and then securing that with the neck binding. You can also slightly overlap those to bring in the neckline even more. This way you also have more room in the chest area and the pleat adds visual interest.
On the back (2) I simply gathered the neckline into the neck binding. I could have probably used a box pleat here, too but I didn’t need to bring in the neckline that much in the back.
And that’s really all I did for the fit adjustments.
If you plan on trying it yourself, I would recommend using the pattern that is a size smaller then you would choose by going with the size chart.
Where to get the pattern
You can get the reprint patterns directly at Butterick, your local craft store or via Amazon.
For the latter I do have some affiliate links:
Amazon.com: Size 8 – 14* / Size 16 – 22 *
Amazon.de: Größe US8 – 14* (ca. 38 – 44) / Größe US16 – 22* (ca. 46 – 52) (Make sure to check the sizing chart because you cannot just take your regular size. I’m usually a size 12-14/38-42, and would have needed to make a 16/46 at least…)
There are also vintage ones available on Etsy that might fit better to begin with.
Other changes to the pattern
I did in fact make some other changes to the pattern that did not affect the sizing but which I want to note here, too:
I did add some pockets (because everything is better with pockets), using the welt pocket tutorial in Alison Smith’s “Die Große Nähschule”* (which should be “The Sewing Book: Over 300 Step-by-Step Techniques”*) but you can find tons of tutorials online.
In addition to that I did line the bodice part of the dress by simply cutting two of the front and back pieces. After putting in the darts I put them right sides together, sewing the arm hole seams and turning the pieces. This resulted in nicely finished hems and no need for bias tape binding (which I don’t really like the look of.)
I used a hook in the back instead of buttons to not add bulk there.
For a next version I want to try to make the front panel flared out, too to fit a petticoat underneath (the front panel is pretty narrow so no room for petti) and I want add butterfly style sleeves over the shoulder.
Have fun sewing!
I hope, this helps a bit to understand what changes I made to the iconic wrap dress pattern and it will help you to adjust your own version.
Before anyone asks: No, I won’t sell the pattern (because it’s Butterick’s pattern, I don’t want copyright issues and I don’t know how to draft patterns). I also won’t sew you a finished dressed. This pattern is super beginner friendly so go and try it yourself! (And let me know how it went!)
There are also tons of blog posts and sewing vlogs out there to help you! Happy sewing!
Here are the two videos I made about the dress that prompted this blog entry.
*Affiliate links, I might get a small provision if you buy by using these links. It won’t affect the price for you. I don’t get paid to add specific products, I just want to provide a resource for the products I use anyway.

Was ist Steampunk?

Das könnte dich auch interessieren
Making an 1890s Up- Cycling Sweater

Was ist Steampunk?